
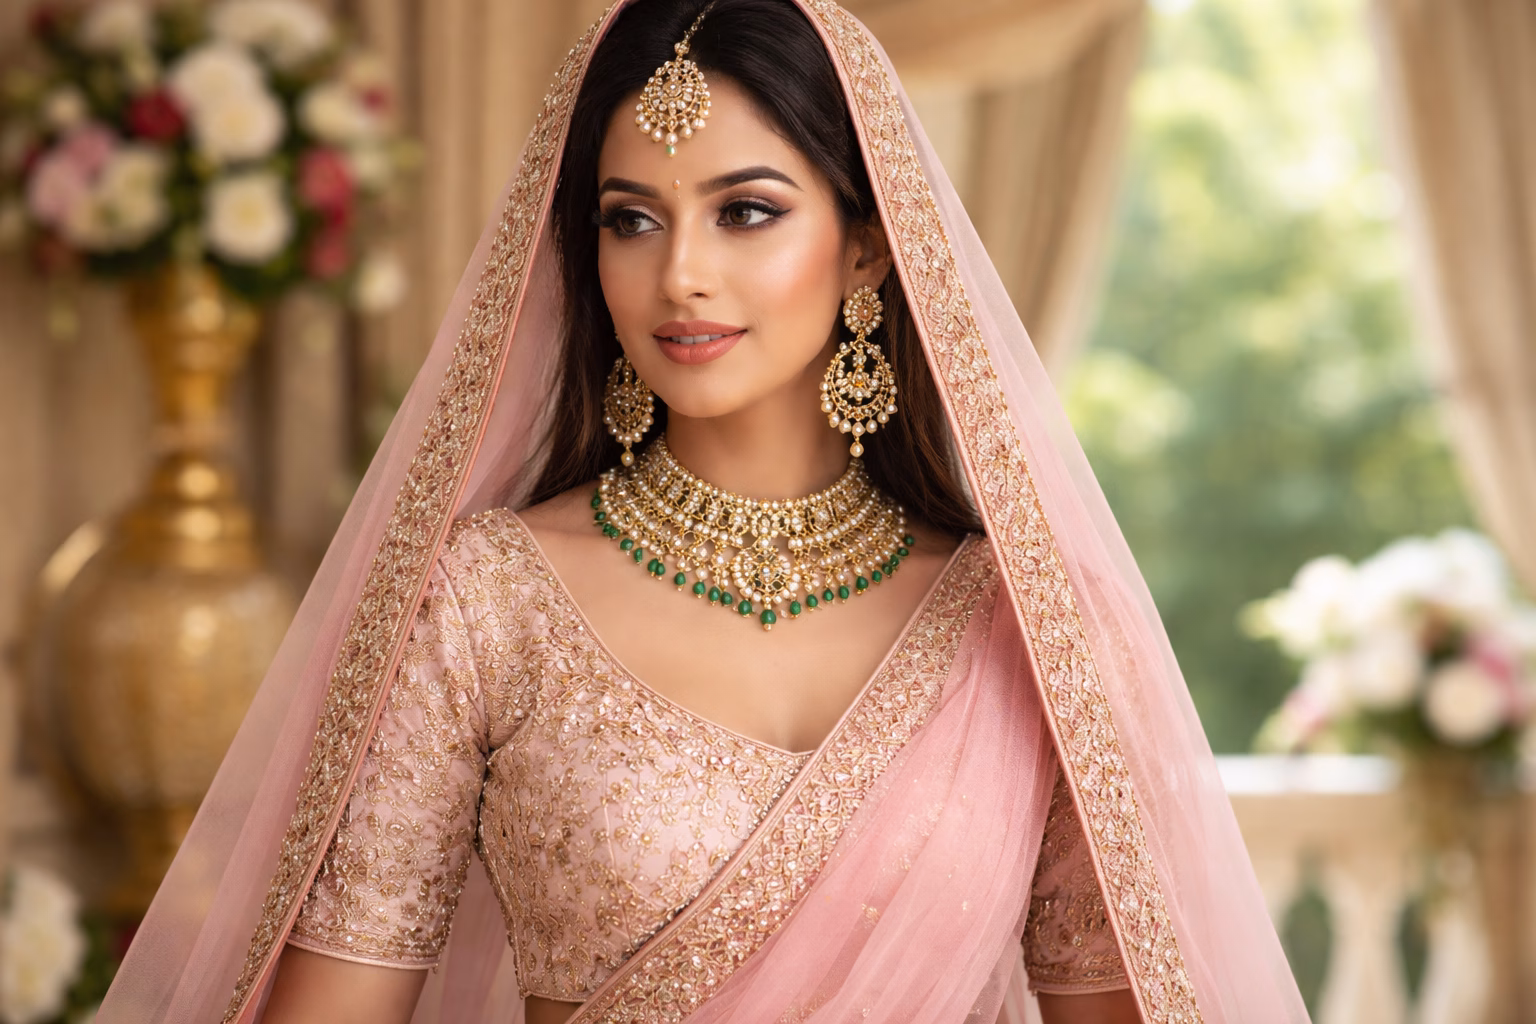
The way you drape your dupatta can completely transform your lehenga look. Whether you’re attending a wedding, sangeet, or family celebration, the right dupatta style enhances your outfit and helps you feel confident throughout the event.
In this guide, you’ll learn seven classic draping techniques that work for different occasions, body types, and lehenga styles. Each method serves a purpose: some create elegant lines for photos, others give you freedom to dance, and some honor traditional styling for religious ceremonies.
7 Essential Dupatta Draping Techniques
1. Traditional Head Drape
This classic style works beautifully for religious ceremonies and formal wedding events where modesty is preferred.
How to drape:
- Place the dupatta center over your head, covering your hair partially
- Bring both ends forward over your shoulders
- Pin to your blouse at the shoulder seams
- Adjust the length so both sides fall evenly
Best for: Wedding ceremonies, temple visits, traditional family photos
2. Single Shoulder Style
Perfect when you want to showcase intricate blouse work or statement jewelry pieces.
How to drape:
- Place one end of the dupatta on your left shoulder
- Bring the longer end across your back and under your right arm
- Pull it across your chest to the left shoulder
- Pin securely at the shoulder or tuck into your waistband
Best for: Reception events, cocktail parties, photo sessions
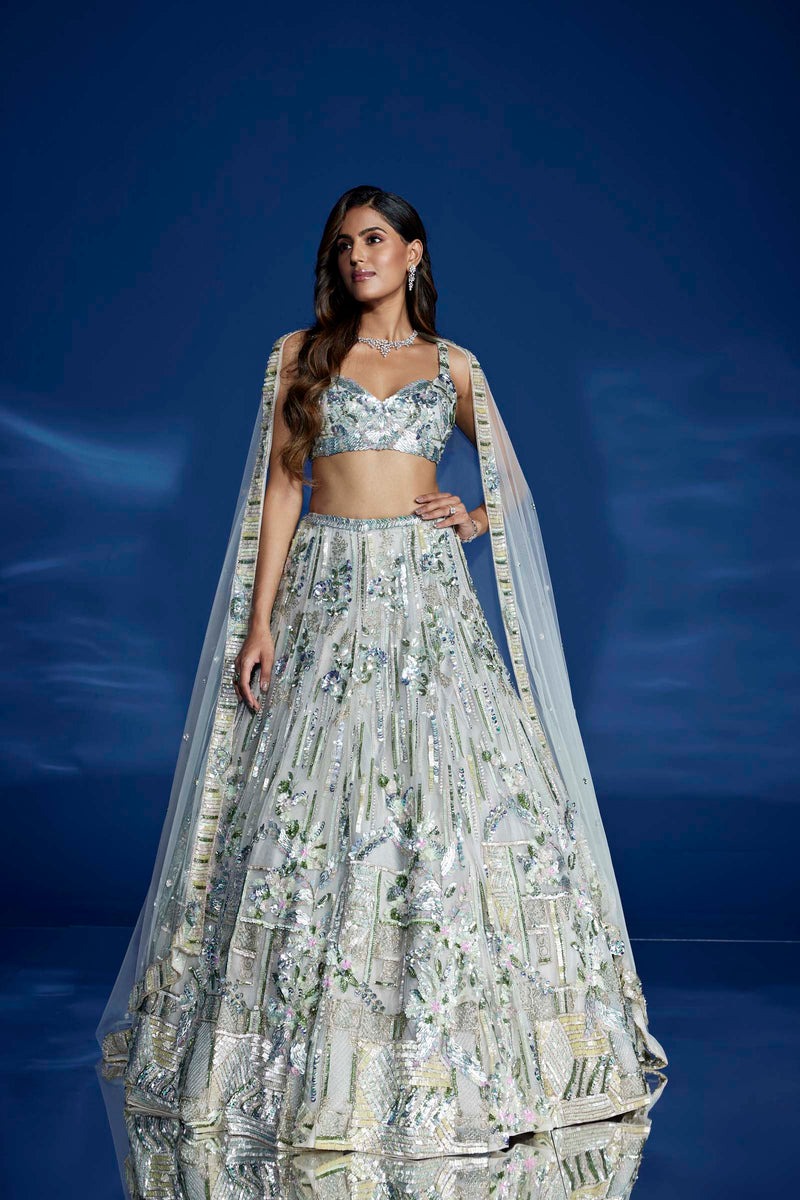
3. Classic Both Shoulders

The most versatile style that complements any lehenga design and works for extended wear.
How to drape:
- Find the center point of your dupatta
- Place it on your upper back between your shoulder blades
- Bring both ends over your shoulders to the front
- Pin each end at the shoulder seams
Best for: Long celebrations, comfortable all-day wear, versatile styling
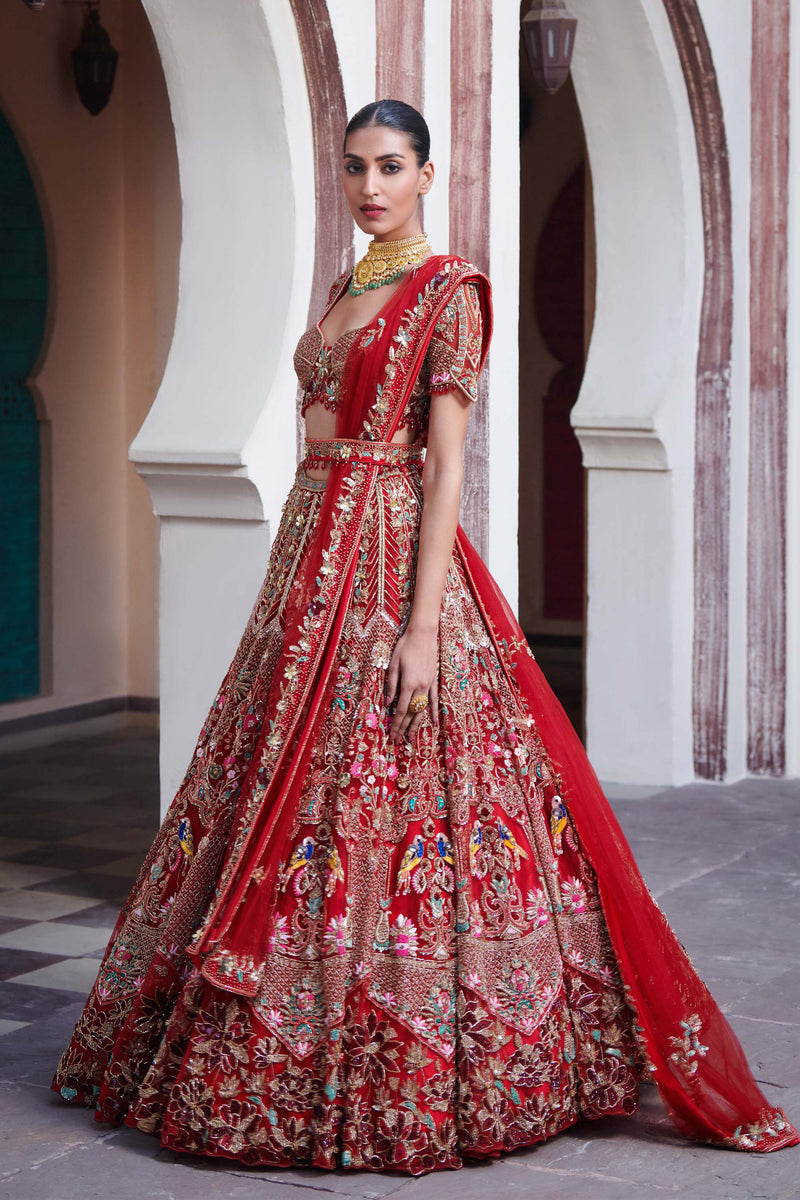
4. Saree-Style Pallu
Creates a regal appearance and beautifully frames embroidered blouse details.
How to drape:
- Start with the both-shoulders method
- Take the right end and create neat pleats
- Pin the pleated section to your left shoulder
- Let it fall across your front like a saree pallu
Best for: Formal events, highlighting blouse embroidery, elegant photos
5. Modern Belt Style
A contemporary approach that’s comfortable for dancing and active celebrations.
How to drape:
- Fold the dupatta lengthwise to create a wide band
- Wrap it around your waist like a decorative belt
- Secure at one hip with coordinating pins
- Let the remaining length create a graceful side drape
Best for: Sangeet nights, mehendi celebrations, dance performances
6. Cape-Style Drape
Dramatic and photo-ready while allowing complete arm movement.
How to drape:
- Place the dupatta center at your back neckline
- Let both ends fall straight down like a cape
- Pin at the blouse neckline for security
- Ensure both sides are even in length
Best for: Grand entrances, couple portraits, evening receptions
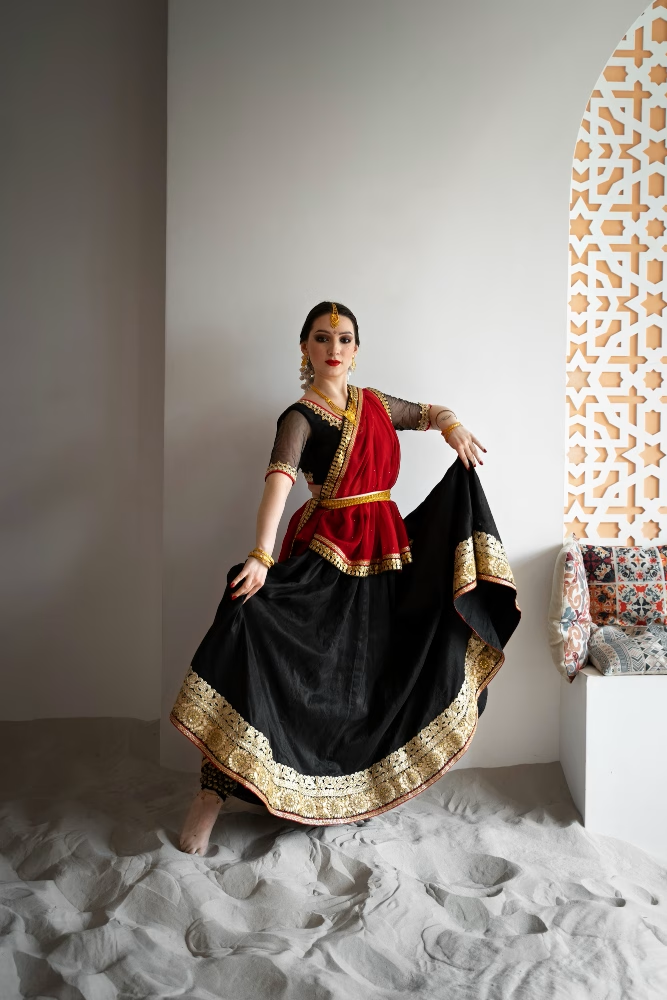
7. Regional Gujarati Style
A traditional regional drape that’s practical for cultural celebrations and dancing.
How to drape:
- Place dupatta over your head with partial coverage
- Bring the right end across your chest and over your left shoulder
- Take the left end under your right arm and across your back
- Tuck the left end into your right waistband
Best for: Garba events, Navratri celebrations, cultural functions
Matching Your Drape to Your Lehenga
Work With Your Blouse Design
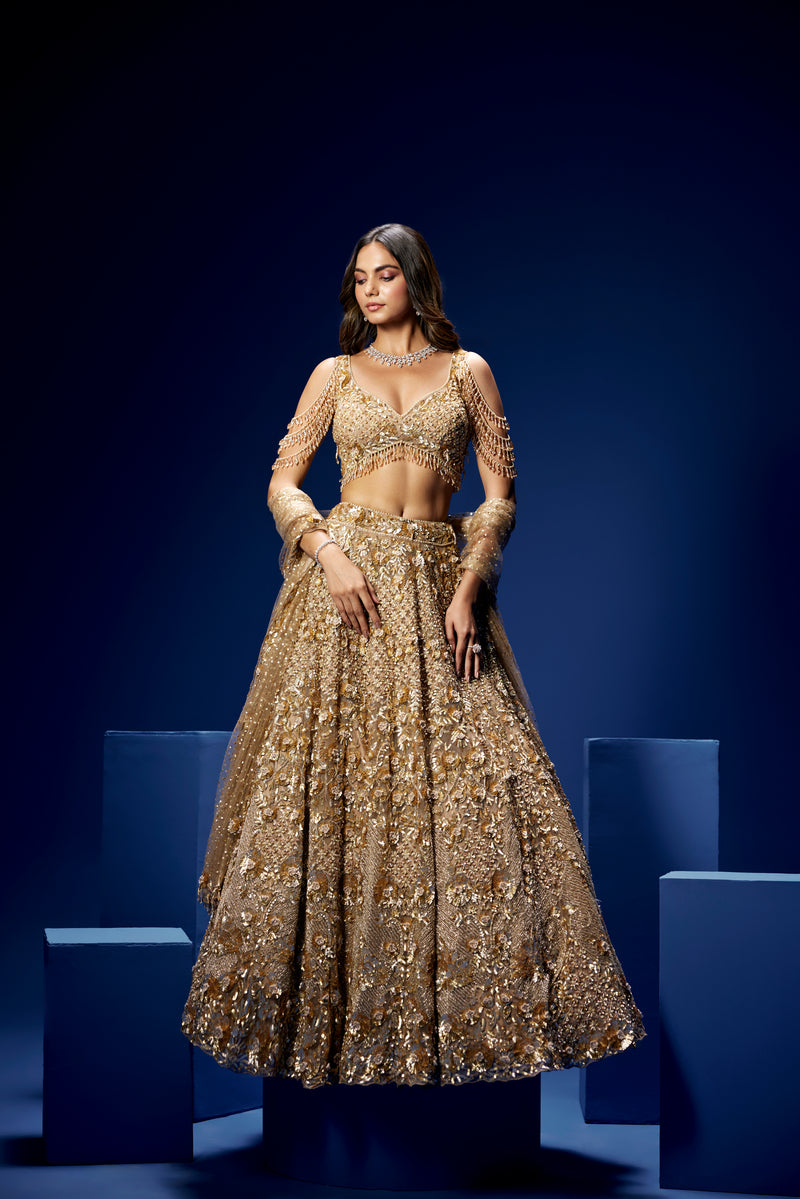
Heavily embroidered blouses shine with single shoulder or cape styles that don’t hide the craftsmanship. Simpler blouses can support any draping style, including traditional head coverings.
The dupatta should complement your blouse, not compete with it. When clients come in with heavily worked blouses, we often recommend draping styles that showcase rather than cover that beautiful detailing.
Consider the Occasion
Religious ceremonies typically require modest head covering, making styles 1 or 7 most appropriate. Party events offer flexibility for styles 2, 5, or 6. Family photos benefit from balanced looks like styles 3 and 4.
Plan for Your Activities
Long sitting periods call for comfortable shoulder draping without heavy pleating. Dancing works best with belt-style or single shoulder methods. When dining, ensure dupatta ends won’t interfere with your meal.
Professional Styling Secrets

Secure Your Look
Use small safety pins in colors that match your dupatta fabric. Pin at structured points like shoulder seams rather than visible fabric areas. Heavy dupattas need additional pins at the back neckline for stability throughout your event.
Master the Perfect Pleat
Create pleats by folding fabric accordion-style in 2-3 inch sections. Gently press each fold before pinning. Slightly uneven pleats appear more natural and elegant than perfectly uniform ones.
Get the Length Right
Your dupatta should never touch the ground when standing. Fashion stylists recommend adjusting pin placement higher for taller women and using vertical draping to create height illusion for petite frames.
“We spend time with each client practicing their chosen drape so they feel completely confident recreating it at home,” shares [CONSULTANT NAME], our lead bridal consultant. “The last thing you want is dupatta stress on your special day.”
Avoid These Common Styling Mistakes
Don’t create overly tight draping around your neck. The dupatta should flow naturally without pulling or restricting movement. Avoid covering beautiful neckline details unless your occasion specifically requires modest coverage.
Never ignore ground clearance, especially for outdoor events or dining. Dragging fabric creates safety hazards and staining risks. Complex draping often shifts during long events, so choose simpler styles for extended celebrations.
Skip frequent mirror checking during your event, but do periodic adjustments to maintain your look for photos. At our boutique, we demonstrate each technique during fittings and provide styling accessories to help secure your chosen look.
Finding Your Perfect Dupatta Style
Traditional fashion guides suggest trying multiple draping styles during your shopping appointment to see what flatters your body type and complements your specific lehenga design.
Ready to perfect your dupatta styling? Visit our showroom to practice different draping techniques with your lehenga, or message us on WhatsApp to schedule a personalized styling session with our experienced team.
Frequently Asked Questions
Which dupatta style photographs best?
Single shoulder and cape-style drapes create clean, elegant lines that photograph beautifully. Both showcase your outfit details while creating flattering silhouettes. The classic both-shoulders style works well for group family photos.
How do I keep my dupatta secure all day?
Use multiple small safety pins at key points: shoulder seams, back neckline, and waistband. Match pin colors to your dupatta fabric. For heavy dupattas, consider temporary hand-stitching at stress points before your event.
Can I change styles during one event?
Absolutely. Many brides start with traditional head-covering for ceremonies, then switch to shoulder drapes for reception dancing. Practice both styles beforehand and carry extra pins for smooth transitions.
What if my dupatta length isn’t right?
Professional alterations ensure perfect length for your height and preferred draping style. At Bombay Trendz, our fitting services include dupatta adjustments so everything drapes beautifully together.
Which style works for dancing?
Belt-style and single shoulder drapes allow maximum arm movement without shifting. Avoid head drapes for active dancing as they require frequent readjustment.
How do I style with a backless blouse?
Cape-style draping works perfectly with backless designs. You can also modify the single shoulder technique, pinning at side seams instead of shoulders to showcase the back while maintaining security.